Setting up a Source
On the homepage, under the “Create your first Source” section, click on the “Create Source” button. You’ll be asked to fill out a name for the source.For now, north.sh only supports Webhooks as a source. We’re working on adding more sources in the future.
Creating your first Alert
Once you’ve set up a source, you can start to test out creating test-alerts with thecurl command provided. Once you’ve run the command, you should see the alert appear in the “Alerts” page.
For now, north.sh only supports
JSON payloads. We’re working on adding more formats in the future.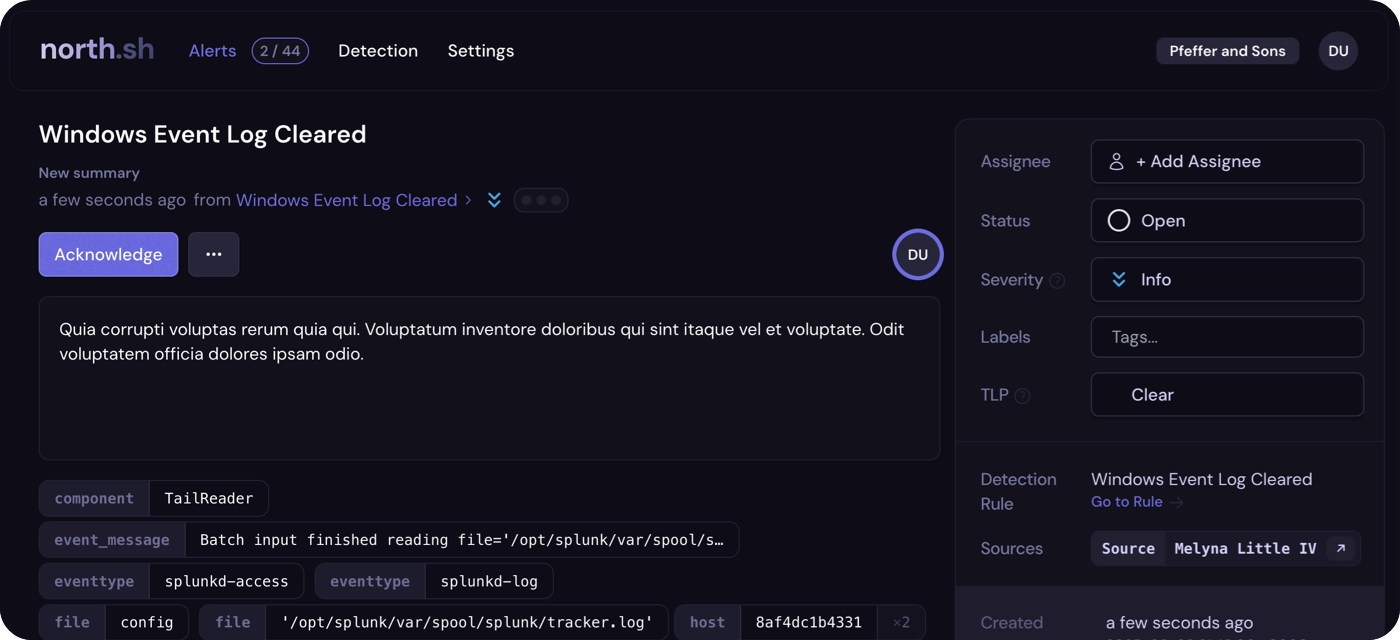
Connecting a SIEM
north.sh supports connecting to multiple SIEMs, with initial support including Elastic 8 (On-Premises) & Splunk Enterprise (On-Premises).
siem-agent to interface with your SIEM, and send alerts to north.sh. Luckily north.sh makes this easy with a one-liner command, that is explored below.
Start by heading back to the Dashboard (by clicking the north.sh logo), and clicking on the “Connect SIEM” button. You’ll be asked to fill out the details of the SIEM you’re connecting to.
Splunk Enterprise
Splunk Enterprise
Connecting Splunk Enterprise
Give your SIEM a name and description. Once you get to the “Base URL” field, you’ll need to supply the API-URL of your Splunk instance – not the UI URL. This is typicallyhttps://splunk-ip:8089.To finish connecting Splunk Enterprise to north.sh, you need to supply a username and password,
alongside the connection details of your Splunk instance. After you’ve filled all the required details,
click “Continue”.For now, north.sh only supports the admin user, but in future will support more granular user
permissions.
siem-agent on your Splunk instance. This command will download the siem-agent and install it on your
Splunk instance.For now, north.sh only supports
linux/amd64 and linux/arm64, non-containerized deployments of
siem-agents. We’ll work to support containerized siem-agent deployments in the future.siem-agent start up and connect to north.sh. You can
check the status of the siem-agent by running ./siem-agent status.Elastic 8
Elastic 8
Connecting Elastic 8
Creating a Detection
Detections is where the power of north.sh comes to life. Once you have a SIEM connected, you can start creating new detections, creating filters in the alert UI, and hunting for threats across different SIEMs.